Table of Contents
- Step 1: Plan the Layout and Calculate Paver Driveway Subbase Depth
- Step 2: Excavate to the Right Depth and Prepare the Subgrade
- Step 3: Compact the Subgrade Before Placing the Aggregate Base
- Step 4: Select and Place Crushed Aggregate Base Material
- Step 5: Compact the Base in Lifts for Maximum Stability
- Step 6: Screed the Bedding Sand and Set the Pavers
- Step 7: Meet Paver Driveway Drainage Requirements
- Tools Needed for Paver Base Preparation
- Frequently Asked Questions
Last Updated: September 17, 2026
Step 1: Plan the Layout and Calculate Paver Driveway Subbase Depth
A paver driveway base is the compacted layer of crushed stone that carries every vehicle load your driveway will ever see, and the depth of your paver driveway base is decided before a single shovel hits the ground. Base prep is where driveways succeed or fail, and most failures trace back to shortcuts taken here.
Get the layout wrong and no amount of compaction will save you.
Marking Square Corners with Grade Stakes and String Lines
Square corners come from the 3-4-5 method, not from eyeballing it. Measure 3 feet along one string line, 4 feet along the perpendicular, and adjust until the diagonal between those points measures exactly 5 feet.
Drive grade stakes at each corner, run string lines between them, and check both diagonals of the rectangle. Equal diagonals confirm square corners. Set the strings slightly above finished grade so they double as height references throughout excavation.
Soil Type and High Water Table Considerations
Soil type determines how much base you need. South Florida driveways typically sit on sandy soil, which drains well but shifts under load if it isn’t compacted properly. The main variable to plan around here isn’t freezing, it’s the high water table: saturated subgrade won’t compact properly and can lead to settling once the driveway is under regular traffic.
South Florida doesn’t have a frost line to plan around, but the water table takes its place as the variable to check before you dig. Excavate during drier conditions when you can, and avoid compacting the subgrade while it’s saturated, wet sandy soil traps water instead of stabilizing it. Check with your local building department for any site-specific requirements, and see the American Society of Civil Engineers guidance on subgrade evaluation for how soil bearing capacity is assessed before construction.
Step 2: Excavate to the Right Depth and Prepare the Subgrade
Excavation depth equals your paver thickness plus bedding sand plus compacted base depth. A driveway base is typically deeper than a walkway’s because vehicles concentrate far more load.
A common mistake is digging to a uniform depth across the whole area. The subgrade should slope away from structures at roughly a 2% grade so water moves off the surface instead of pooling. Grade stakes and string lines keep you honest here.
Once excavated, remove all organic material, roots, grass, and soft spots decompose and create voids that cause settlement.
Step 3: Compact the Subgrade Before Placing the Aggregate Base
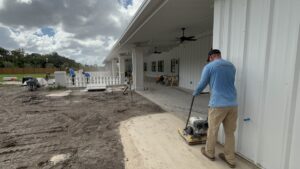
With the subgrade excavated and shaped to grade, compact it directly before placing any aggregate. Run a plate compactor or vibratory roller over the full area, including edges and corners, so the sandy subgrade is locked in place and ready to support the aggregate base above it without shifting.
Step 4: Select and Place Crushed Aggregate Base Material
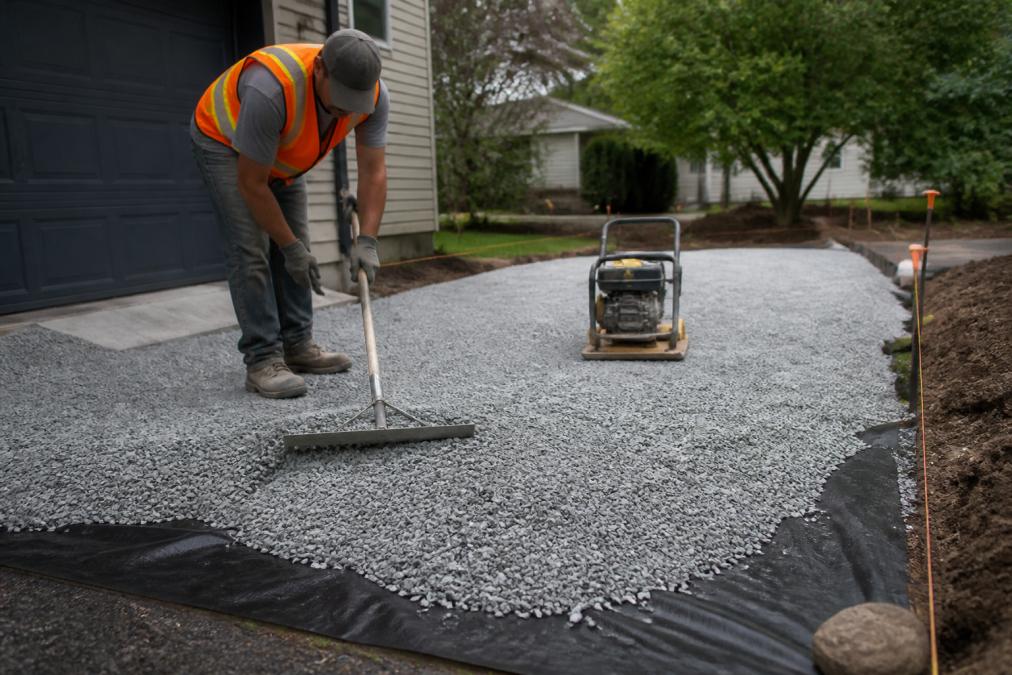
Crushed aggregate base material should be angular, well-graded stone. Angular faces interlock under compaction; rounded river rock does not. This single choice separates a driveway that lasts from one that rutts.
Reading a Gradation Spec Before You Order
“Well-graded” is not a marketing word, it is a measurable property. A well-graded base contains a deliberate range of particle sizes, from roughly 1 inch down to fine dust, so smaller particles fill the voids between larger ones and the layer carries load. A single-size stone like clean #57 has almost no fines, so it drains fast but never locks up tightly; it is a drainage stone, not a driveway base.
Open-Graded vs. Dense-Graded: Pick Based on Your Drainage Plan
- Dense-graded base interlocks into a stiff, near-impermeable mat. Water sheds off the surface and away via slope. This is the standard choice for a conventional paver driveway on stable, well-draining soil.
- Open-graded base is washed stone with the fines removed, so it has a high void ratio and stores water temporarily while it percolates into the subgrade. This is the base for a permeable paver system, and it depends on the water table, not just the soil type. South Florida’s sandy soil percolates well, but where the water table sits high, an open-graded base can stay saturated for much of the year; without an underdrain to carry that water away, it can turn into a bathtub.
Choosing open-graded stone for a non-permeable driveway is a common, expensive error: it will not lock up, and the pavers will move.
Place in Lifts, Not in One Dump
One more ordering note: have the full calculated tonnage delivered before you start spreading. Material from a second quarry or stockpile can have a different gradation, and blending mismatched blends mid-project produces an inconsistent mat that compacts unevenly.
Free consultation & estimate →
Step 5: Compact the Base in Lifts for Maximum Stability
Lift thickness is the single biggest variable in base stability. Keep each lift to roughly 4 to 6 inches of loose material before compaction, then compact it thoroughly before adding the next. On a driveway, err toward the thinner end of that range.
Match the Compactor to the Lift and the Area
Not all compactors deliver the same energy, and the wrong machine wastes a day.
- Vibratory plate compactor (single-direction): the standard tool for granular base in tight areas, along edges, and against foundations. Good for lifts up to about 4 inches.
- Reversible plate compactor: heavier, delivers more energy per pass, and handles 6-inch lifts more reliably. Worth renting for a full driveway rather than a walkway.
- Vibratory roller (walk-behind or ride-on): the most efficient option for large open driveway areas with no obstructions. If your driveway is wide and clear, a roller will cut compaction time substantially compared to a plate.
- Jumping jack / rammer: for cohesive soils and trench backfill, not for crushed stone base. Using one on aggregate is slow and gives poor results.
Pass Count and Pattern Matter More Than Time
Work in overlapping passes, and don’t rush. A common mistake is a single quick pass over each lift. Proper compaction takes multiple passes in different directions until the surface stops moving under the compactor.
A workable pattern:
- Make two full passes in one direction, overlapping each pass by about half the plate width.
- Make two full passes perpendicular to the first direction.
- Repeat the pattern until the compactor stops leaving a visible track and the surface no longer deflects under the machine.
Moisture Content: The Variable Most DIYers Skip
Granular base compacts best near its optimum moisture content, damp enough that particles slide into place, dry enough that the material does not pump or rut under the compactor.
Verify Each Lift Before You Build on It
Test each lift before adding the next. Walk across it. If you leave footprints, it needs more work. A stiffer check: press a screwdriver or a piece of rebar into the surface. On a properly compacted dense-graded lift, it should resist penetration with firm hand pressure.
Edge and Corner Compaction
Edges are where bases fail first, because a plate compactor cannot reach the last few inches against a foundation, curb, or excavation wall. Use a hand tamper or smaller plate along all edges and corners after each lift, just like the open area. A base that is dense in the middle and loose at the edges will let pavers settle along the perimeter within the first season.
Step 6: Screed the Bedding Sand and Set the Pavers
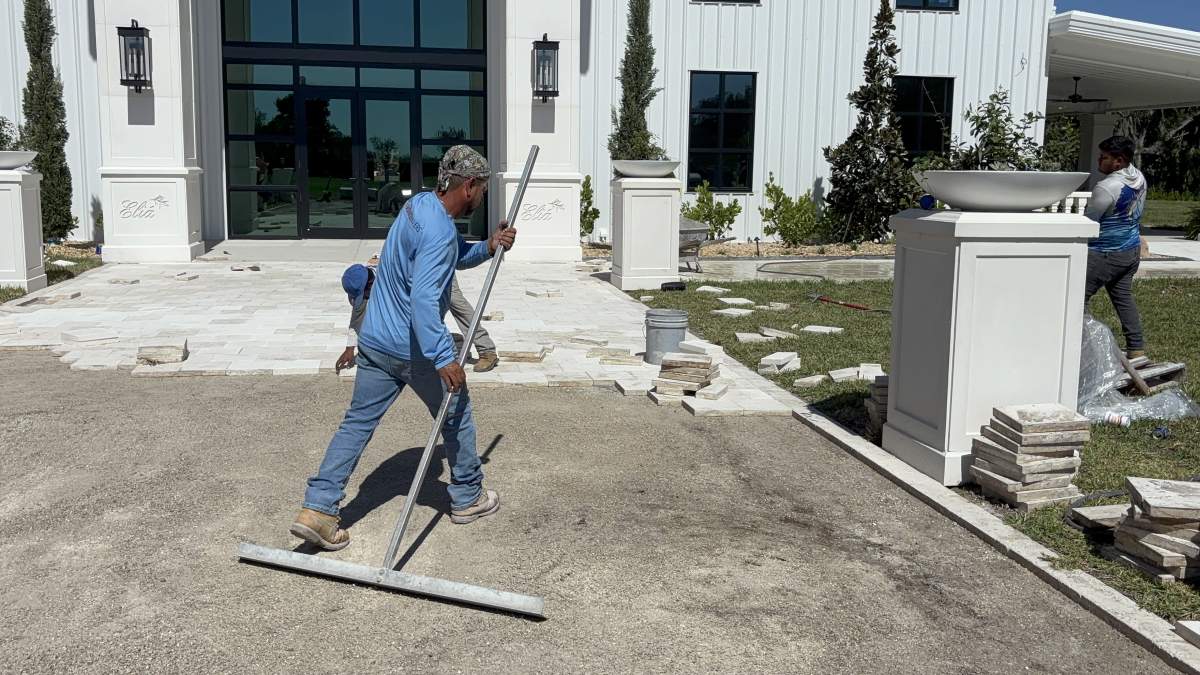
Screeding is pulling a straight edge across bedding sand to create a perfectly level layer, usually about 1 inch thick. Use screed rails or pipes set on the compacted base as guides, then pull a straight board across them.
Step 7: Meet Paver Driveway Drainage Requirements
Paver driveway drainage requirements start with slope: the finished surface should fall away from buildings at roughly a 2% grade, never toward the structure. Standing water is the fastest way to undermine a base.
Tools Needed for Paver Base Preparation
The tools needed for paver base preparation fall into three groups: layout, excavation, and compaction.
|
Task |
Tool |
Why It Matters |
|---|---|---|
|
Layout |
Grade stakes, string lines, tape measure |
Keeps corners square and depth consistent |
|
Excavation |
Shovels, wheelbarrow, landscape rake |
Removes soil and spreads aggregate evenly |
|
Compaction |
Plate compactor or vibratory plate |
Achieves the density that prevents settlement |
|
Screening |
Screed rails, straight board |
Creates a level bedding sand layer |
|
Safety |
Gloves, eye protection, dust mask |
Stone dust and vibration are real hazards |
Frequently Asked Questions
How deep should a base be for a paver driveway?
For a residential paver driveway, the total base depth typically ranges from 6 to 12 inches, depending on soil conditions and expected traffic. This includes 4 to 8 inches of compacted crushed aggregate, 1 inch of bedding sand, and the paver thickness. In areas with clay soils or freeze-thaw cycles, a deeper subbase may be needed. A professional site evaluation can determine the exact depth for your property.
What is the best material for a paver driveway base?
Crushed aggregate, such as #57 stone or a DOT-approved base course, is the standard choice for paver driveways. It compacts well and provides strong load-bearing capacity. Avoid using pea gravel or rounded stone because they shift under weight. In some cases, a cement-treated base may be specified for high-traffic commercial applications. The right material depends on your soil type and drainage needs.
Do you need a concrete base for a paver driveway?
A concrete base is not required for most paver driveways. A properly compacted crushed stone base with geotextile fabric and bedding sand performs well when installed correctly. Concrete bases are sometimes used for heavy commercial loads or where soil conditions are poor. For residential driveways, a flexible stone base is usually more cost-effective and easier to repair if settling occurs.
How do you ensure proper drainage for a paver driveway?
Drainage starts with sloping the subgrade away from the foundation at a minimum 2% grade. A compacted aggregate base allows water to percolate, while a drainage pipe or channel drain can handle heavy runoff. Permeable pavers and open-graded base materials are options for areas with poor drainage. Always plan drainage before excavation, not after pavers are laid.