Clean driveway pavers with proven techniques and the right products. Learn step-by-step methods to restore and maintain your pavers.
Last Updated: October 26, 2026
Quick Summary
To clean driveway pavers properly, start by sweeping away debris and removing weeds from joints, then apply a gentle dish soap solution or non-acidic cleaner with a soft brush. For stubborn stains, use a pressure washer at 1500-2500 PSI for concrete pavers or 1200-1800 PSI for brick, holding the nozzle 12-18 inches away and keeping it moving to avoid etching.
- Clear the surface and sweep with a stiff broom in multiple directions to expose joints and remove trapped debris.
- Test any cleaner on a hidden area first before treating the entire driveway to avoid damage.
- Use a 25-degree or 40-degree fan nozzle, never a 0-degree pinpoint, and work at a 45-degree angle or less.
- Reduce pressure near joints and work in the direction of joints to minimize sand loss during pressure washing.
- Sweep weekly and rinse monthly between deep cleans to extend the interval and prevent stains from setting.
Table of Contents
- Preparing Your Driveway Pavers for Cleaning
- Choosing the Best Cleaner for Pavers
- How to Remove Oil Stains from Pavers
- Pressure Washing Pavers: Settings and Technique
- How Often to Clean Pavers and Maintenance Schedule
- Post-Cleaning Care: Joint Sand and Sealing
- Schedule Your Professional Paver Cleaning Consultation
- Frequently Asked Questions
Preparing Your Driveway Pavers for Cleaning
Before you grab a pressure washer or cleaning solutions, the real work happens on the ground. Proper preparation can help determine whether your clean driveway pavers stay pristine or become stained.
Clear the Surface and Remove Loose Debris
First, move cars, trash cans, planters, and furniture off your driveway pavers. This takes minutes but saves hours of working around obstacles.
Next, sweep away dirt and loose debris with a stiff broom, pushing firmly to dislodge dust, leaves, and sand trapped in the joints. Sweep in one direction, then perpendicular to catch debris from different angles.
For stubborn dirt packed into joints, use a stiffer broom or wire brush, spending extra time where concrete and brick pavers collect debris.
After sweeping, blow away remaining dust with a leaf blower on low speed so it doesn’t turn to mud when you wet the surface.
Remove Weeds and Vegetation from Joints
Weeds between pavers trap moisture and accelerate deterioration, so remove them before cleaning.
Then pull weeds by hand, gripping low at the base and twisting gently to remove roots. For deep-rooted weeds, loosen soil first with a flat screwdriver or weeding tool.
For moss or algae on paver joints, scrub with a stiff brush and water so your cleaner works better later.
Frequent weeds can also signal moisture retention in your joints.
|
Preparation Step |
Time Required |
Result |
|---|---|---|
|
Clear surface and sweep |
15-20 minutes |
Loose debris removed, joints exposed |
|
Remove weeds and vegetation |
10-15 minutes |
Joints clear, roots eliminated |
|
Blow away remaining dust |
5 minutes |
Surface ready for pre-wetting |
Choosing the Best Cleaner for Pavers
The cleaner you select affects the results. In fact, some cleaners can damage paver surfaces or fail to remove stains.
Non-Acidic Solutions and Dish Soap Options
Start with the gentlest option: one tablespoon of liquid dish soap per gallon of warm water. This safely handles light dirt, dust, and surface grime on all paver types.
Apply with a soft brush or mop, let it sit 10-15 minutes, then scrub gently and rinse thoroughly with a garden hose. Otherwise, leftover soap attracts dirt and dulls pavers.
For moderate staining, consider a non-acidic paver cleaner, because some acidic cleaners can strip sealers or damage certain pavers.
Always test any cleaner on a small hidden area first, apply, wait, rinse, and observe, before treating the entire driveway.
Cleaner Selection by Paver Material and Stain Type
Concrete pavers can discolor from acidic solutions.
Brick pavers can be affected by harsh chemicals.
Oil stains may require more than dish soap.
Tire marks and rubber stains may require cleaning.
Rust stains can be difficult to remove.
Free consultation & estimate →
How to Remove Oil Stains from Pavers
Oil stains can be a challenge on driveway pavers.
However, fresh oil stains may be easier to treat.
For severe stains that won’t budge, pressure washing is another option.
Pressure Washing Pavers: Settings and Technique
You can also use pressure washing to clean a large driveway. Pressure, nozzle, distance, and joint sand are factors to consider.
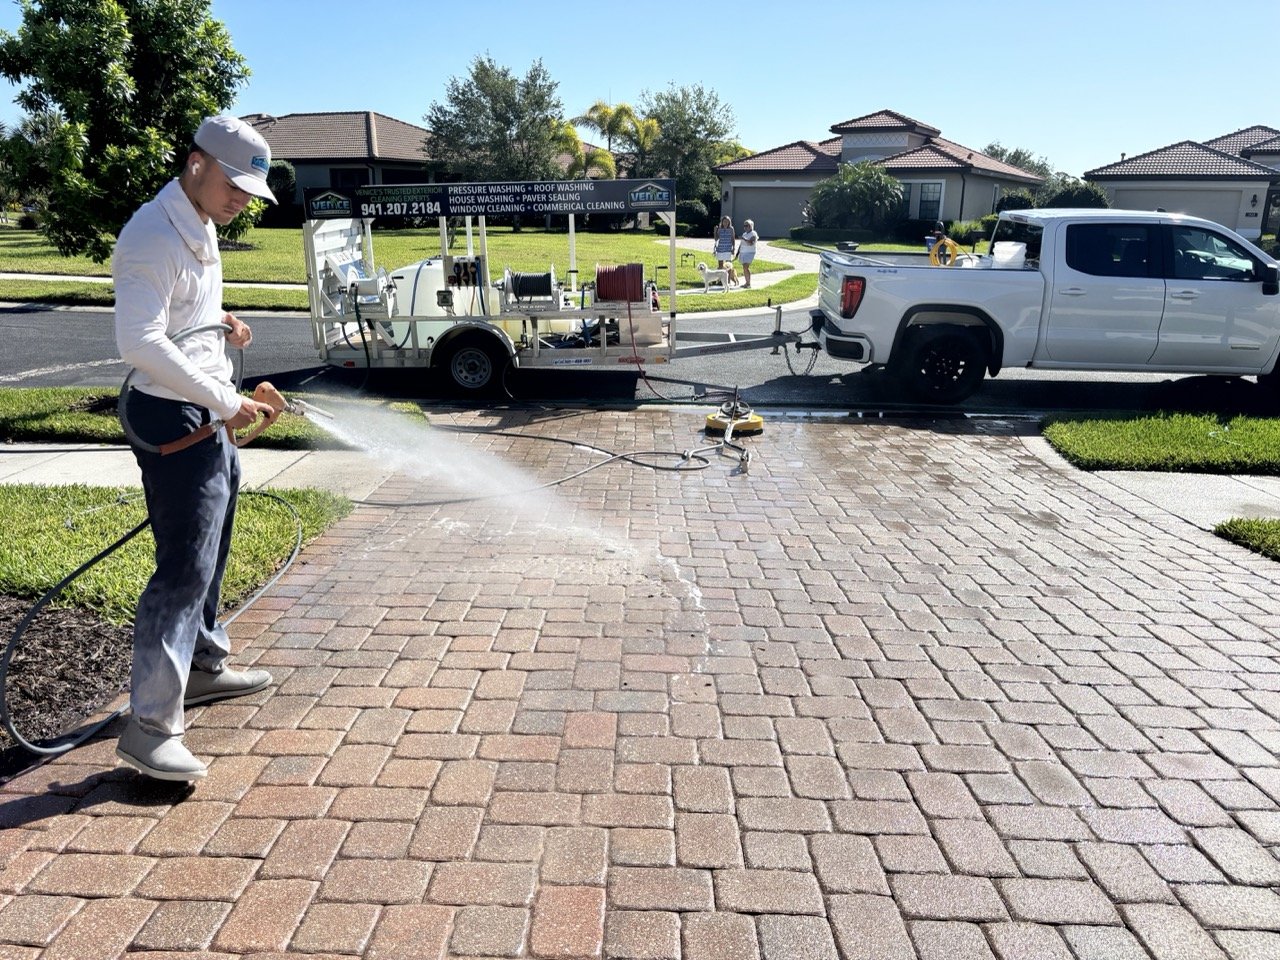
Diagram illustrating the proper pressure washing technique to clean driveway pavers using a controlled angle.
Pressure Settings by Paver Material
|
Paver Material |
Starting PSI |
Maximum Recommended PSI |
Notes |
|---|---|---|---|
|
Concrete pavers |
1500 |
2500 |
Most tolerant; still avoid concentrated pressure |
|
Brick pavers |
1200 |
1800 |
Softer surface; higher pressure can erode face |
|
Natural stone (bluestone, travertine, limestone) |
1000 |
1500 |
Varies widely by stone; test first |
|
Permeable pavers |
1000 |
1500 |
Avoid forcing debris deeper into open joints |
Nozzle Selection and Distance
- Use a 25-degree or 40-degree fan nozzle. The 25-degree handles general cleaning; the 40-degree is safer for softer materials and joints.
- Never use a 0-degree pinpoint nozzle. It concentrates pressure into a tiny area and can gouge paver faces or blast joint sand out in seconds.
- Hold the nozzle 12-18 inches from the surface. Closer increases effective pressure dramatically; farther reduces cleaning power.
- Keep the wand moving. Stopping in one spot, even briefly, can etch a visible mark.
- Work at a consistent angle, typically 45 degrees or less, and overlap each pass by about half the fan width to avoid stripes.
Protect the Joint Sand
Pressure washing can also affect joint sand.
- Reduce pressure near joints. Angle the fan so it sweeps across the surface rather than directly into the joint.
- Work in the direction of the joints, not perpendicular, so debris is pushed out rather than driven deeper.
- Expect some sand loss. Even careful pressure washing removes some joint sand; plan to inspect and top off joints after cleaning (see post-cleaning care).
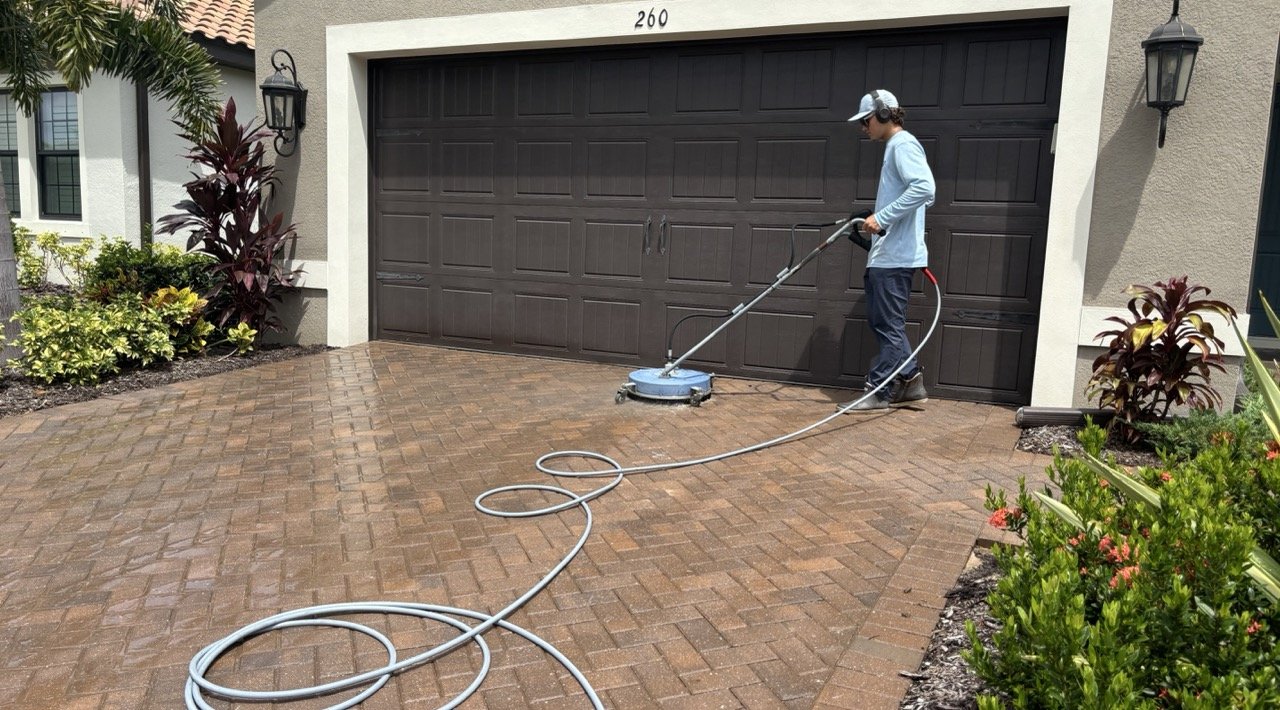
- Consider a surface cleaner attachment. A rotating surface cleaner distributes pressure more evenly than a wand and reduces gouging and joint-sand loss on large flat areas.
Driveway-Specific Technique
Driveways can also have vehicle fluids, tire marks, and traffic wear.
- Pre-treat stains before washing. Apply degreaser to oil spots and let it dwell 20-30 minutes; pressure washing alone can drive oil deeper into porous pavers.
- Work in sections. Divide the driveway into manageable areas, for example, two-car widths, and complete each before moving on to prevent partially cleaned stripes.
- Start at the top and work downhill. On sloped driveways, washing high to low carries dirty water away from cleaned areas.
- Rinse as you go. Keep a second hose handy so dirty water doesn’t dry on cleaned pavers.
- Watch for tire-mark areas. These often need a second pass at a slightly closer distance, but never at higher pressure.
Troubleshooting Common Problems
- Stripes or uneven cleaning: Caused by inconsistent distance or speed. Re-wash with overlapping passes at a steady pace.
- Sand loss in joints: Reduce pressure, use a wider nozzle, and plan to re-sand after cleaning.
- Etching or gouging: Stop immediately, pressure too high or nozzle too close. This damage is permanent and may even require paver replacement.
- Water pooling under pavers: Stop washing. This suggests drainage or base issues that pressure washing will worsen; address drainage first.
- Cleaner residue: Rinse thoroughly with clean water; leftover soap attracts dirt and dulls the surface.
Safety and Environmental Precautions
- Wear eye protection and gloves when handling cleaners.
- Keep runoff away from storm drains where possible; cleaning products and oil residue can harm waterways.
- Protect nearby plants by pre-wetting and covering them if using cleaners.
- Keep pets and children off the driveway until fully rinsed and dry.
- Never mix cleaning chemicals.
How Often to Clean Pavers and Maintenance Schedule
Cleaning frequency can depend on factors such as climate, tree canopy, traffic, and whether the pavers are sealed.
A Practical Cleaning Calendar
Use this as a starting point, then adjust based on what you see:
|
Condition |
Deep Clean Frequency |
Quick Sweep |
Spot Treatment |
|---|---|---|---|
|
Mature tree canopy over driveway |
Every 6 months |
Weekly |
As stains appear |
|
Humid climate, shaded driveway |
Every 6-9 months |
Weekly |
Monthly joint check |
|
Full sun, low tree coverage |
Annually |
Every 2 weeks |
As needed |
|
Multiple vehicles, high traffic |
Every 6-9 months |
Weekly |
Monthly |
|
Sealed pavers |
Annually |
Every 2 weeks |
As needed |
Seasonal Triggers That Signal It Is Time
Rather than relying on the calendar alone, watch for these signals:
- Spring: Pollen, seed pods, and winter road sand collect in joints. Sweep and rinse before it works deeper.
- Summer: Algae and mildew appear in shaded areas. Treat early before growth spreads into joints.
- Fall: Leaves trap moisture and stain tannins into pavers. So remove them weekly, not just at season’s end.
- Winter: De-icing salt residue and sand collect on the surface. Rinse with clean water when temperatures allow, and avoid harsh de-icers that can damage pavers.
Between-Clean Maintenance That Extends Intervals
Routine maintenance stretches the interval between deep cleans:
- Sweep weekly. A stiff broom removes grit before it scratches the surface or settles into joints.
- Rinse monthly. A garden hose rinse clears dust and light organic matter without pressure-washing risk.
- Spot-treat immediately. Fresh oil, tire marks, and spills come off far easier than set-in stains; keep a degreaser on hand.
- Check joints quarterly. If sand is low, top it off before weeds establish roots.
- Inspect after storms. Heavy rain can displace joint sand and deposit debris; a post-storm sweep prevents long-term problems.
Prevention: What Keeps Pavers Cleaner Longer
- Sealing creates a barrier that repels water and stains, extending the deep-clean interval and making each cleaning easier. Then reapply per the manufacturer’s schedule, usually every 2-3 years for driveways.
- Drainage matters. Pooling water accelerates algae growth and joint deterioration; if you see standing water after rain, address grading or drainage before it becomes a recurring problem.
- Trim overhanging branches to reduce leaf drop and increase sunlight, which suppresses moss and algae.
- Use drip pans under vehicles and fix leaks promptly, because a single persistent drip creates a stain that requires repeated treatment.
For understanding the complete maintenance picture for your pavers, proper installation and drainage planning matter as much as cleaning.
Post-Cleaning Care: Joint Sand and Sealing
Once your driveway pavers are clean, consider how to care for them afterward. Browse paver sealing services to protect your investment and extend the time between cleanings.
Schedule Your Professional Paver Cleaning Consultation
In short, cleaning driveway pavers yourself is achievable with the right approach and tools. If you’d prefer professional help, find best paver contractors in Southwest Florida to handle the job.
Venice Pavers brings over 30 years of hardscape expertise to every project.
Frequently Asked Questions
Can I use dish soap to clean driveway pavers?
Dish soap mixed with water is one option for cleaning pavers. Follow the product instructions.
How often should you clean pavers to prevent stains?
Cleaning frequency can depend on the condition and use of your pavers.
Is it safe to pressure wash driveway pavers?
Pressure washing is also one method for cleaning pavers. Consult the paver manufacturer’s guidance before choosing a cleaning method.
What should I do if my pavers have oil or tire marks?
Oil and tire marks may require attention beyond basic cleaning. Follow the instructions for any cleaning product you use.
Keeping your driveway pavers clean protects both their appearance and their durability. Regular maintenance also prevents staining, stops weeds, and extends the life of your hardscape investment. Whether you tackle cleaning yourself or hire professionals, the key is consistency. A clean, well-maintained paver driveway enhances your property’s curb appeal for years to come.