Last Updated: October 23, 2026
Quick Summary
Interlocking paver maintenance isn’t difficult, it’s just regular. Most work is straightforward: clean when needed, check your joints, seal periodically, and address problems early. The Concrete Masonry & Hardscapes Association recommends routine preventive maintenance in spring and fall, and that’s genuinely all you need to stay ahead.
- Spring and fall maintenance windows catch small issues before they become expensive ones.
- Avoid high-pressure washing directly into joints as it can force water under pavers and destabilize the base.
- Hand-pull weeds and keep debris out of joints to prevent weed growth and maintain drainage.
- Single sunken pavers are DIY-fixable, but multiple sunken pavers indicate base failure requiring professional repair.
Table of Contents
- The Honest Answer: Is Interlocking Paver Maintenance Difficult?
- Routine Preventive Maintenance and Seasonal Schedules
- How to Clean Interlocking Pavers Without Damaging Them
- Interlocking Paver Joint Sand Maintenance and Replenishment
- How to Prevent Weeds Between Pavers
- How to Repair Sinking Pavers and Address Uneven Surfaces
- Sealing Pavers and Resealing Intervals
- DIY Maintenance vs. Professional Help: What You Should Know
- Frequently Asked Questions
The Honest Answer: Is Interlocking Paver Maintenance Difficult?
The truth is simpler than you think. The Concrete Masonry & Hardscapes Association recommends routine preventive maintenance in spring and fall, and that’s genuinely all you need to stay ahead.
At Venice Pavers, we’ve installed thousands of driveways and patios over three decades. What separates long-lasting installations from failing ones isn’t the maintenance complexity, it’s the foundation work. A properly prepared base with good drainage means your pavers stay stable for decades. Poor base prep means problems no amount of maintenance can fix.
The real difficulty isn’t the tasks themselves. It’s knowing what to do, when to do it, and which problems need professional help versus which ones you can handle yourself. This guide walks you through exactly that.
Routine Preventive Maintenance and Seasonal Schedules
Spring and fall are your maintenance windows. This isn’t complicated, it’s about catching small issues before they become expensive ones.
Spring maintenance checklist:
- Walk your pavers and look for shifting, sinking, or raised edges
- Clear debris, dirt, and leaves from the surface
- Check for standing water after rain (a sign of drainage problems)
Fall maintenance checklist:
- Remove leaves and organic debris (these trap moisture)
- Check for moss or algae growth in shaded areas
- Verify that drainage paths are clear
The Concrete Masonry & Hardscapes Association emphasizes preventive maintenance as the foundation of long-term paver performance. Two maintenance visits per year is the standard. Each takes a few hours for a typical driveway or patio.
What most guides miss: the real payoff isn’t the cleaning itself. It’s the inspection. Every maintenance session should include a walk-through looking for shifting pavers, drainage issues, or sand loss. Fix these immediately, and your interlocking paver maintenance stays simple. Ignore them, and they compound.
How to Clean Interlocking Pavers Without Damaging Them
Cleaning is where most homeowners go wrong. The instinct is to blast everything with high pressure, but that can force water under the pavers and damage the joint sand.
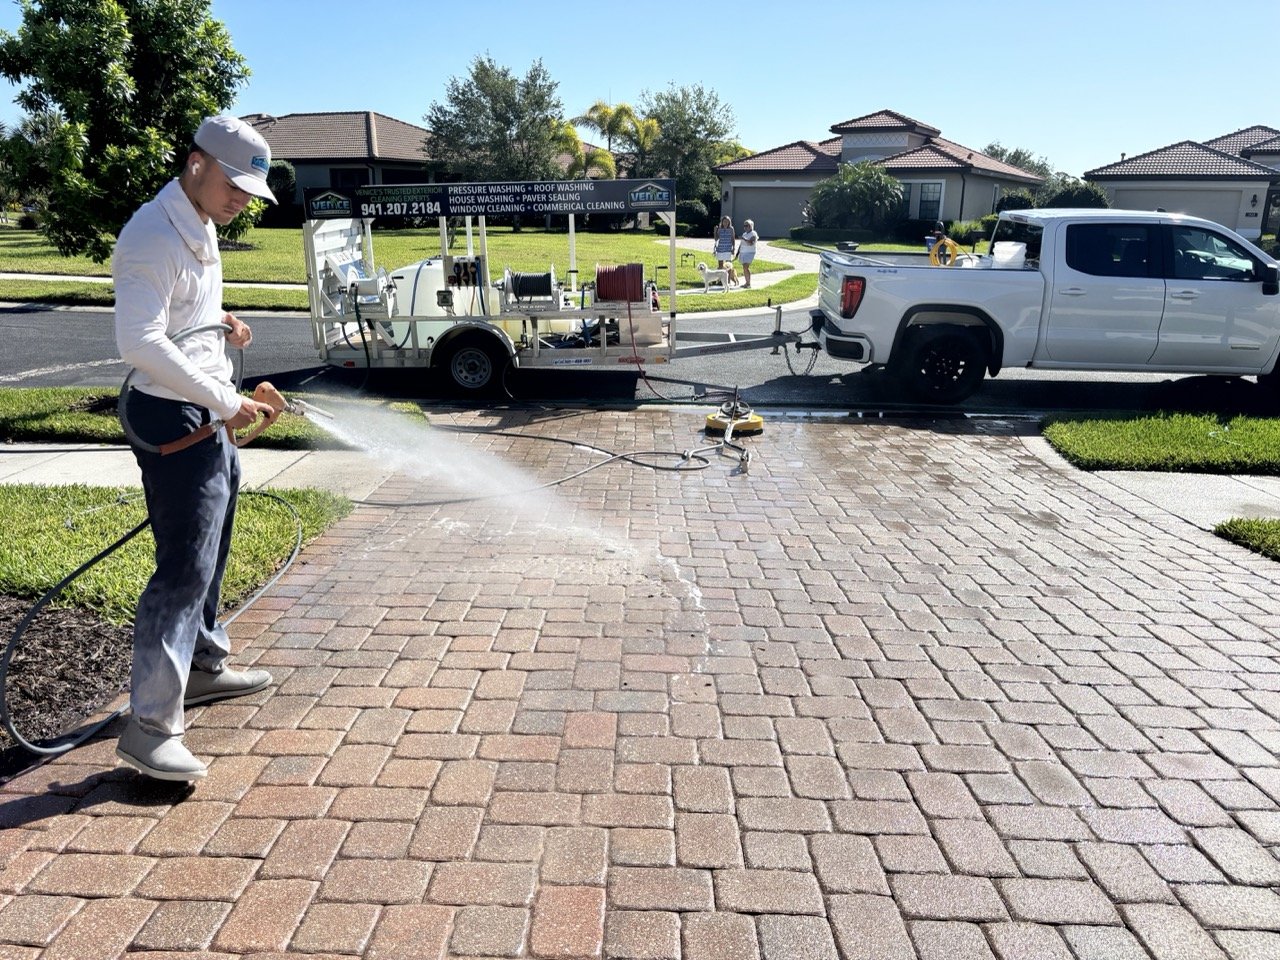
Image showing the low-pressure spray technique for safe interlocking paver maintenance on a driveway surface
For surface dirt and light debris:
- Sweep thoroughly first
- Wash and sanitize pavers to kill and remove organic debris
- Use a garden hose with normal pressure
- A soft-bristle brush handles stubborn dirt
For tougher stains:
- Let a cleaner sit before rinsing
- Use a stiff-bristle brush, not a pressure washer
- Rinse thoroughly to remove all cleaner residue
The key is patience. Stains that sit for months become harder to remove. Mutual Materials advises treating stains as soon as they appear because they bond to the surface over time.
Pressure Washing and Safe Cleaning Methods
Pressure washing works, but only if done correctly. The wrong pressure setting or angle can push water between pavers, undermine the base, or crack the units themselves.
Safe pressure washing guidelines:
- Use appropriate PSI (pounds per square inch)
- Keep the nozzle at an appropriate distance from the surface
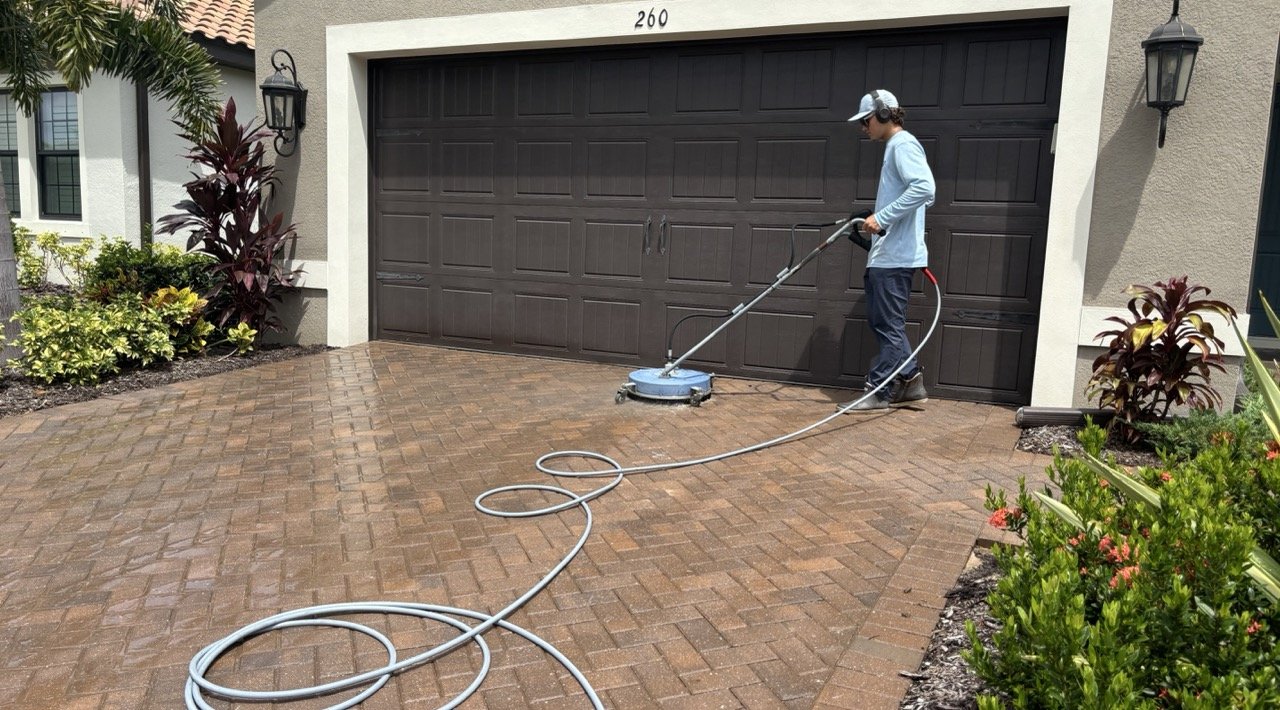
- BEST PRACTICE: Use an orbital pressure washing tool.
- Angle the spray away from joints, not directly into them
Start at low pressure and increase only if needed. The goal is to remove dirt, not strip the surface.
Stain Prevention and Removal
Stains are easier to prevent than remove. Oil, rust, and organic growth all respond to quick action.
Oil and grease stains:
- Absorb fresh spills immediately with kitty litter or sand
- Let it sit for 24 hours, then sweep away
- For older stains, use a degreaser designed for pavers
Rust stains (usually from metal furniture or tools):
- Remove the source immediately
- Use a rust-specific cleaner if the stain remains
- Test any cleaner on a hidden area first
Organic growth (moss, algae, mold):
- These thrive in shaded, damp areas
- Improve drainage and sunlight exposure if possible
- A mild bleach solution can kill growth
Interlocking Paver Joint Sand Maintenance and Replenishment
The joints are where interlocking paver maintenance gets technical. Joint sand keeps pavers locked together and allows water to drain properly.
Signs your joint sand needs attention:
- Visible gaps between pavers
- Pavers that rock or shift underfoot
- Water pooling after rain instead of draining
Check your joints during spring and fall inspections. If you see erosion, replenish the sand.
For permeable interlocking concrete pavement systems that manage stormwater, maintenance addresses the joints specifically because water drainage depends on them. Clean joints drain properly.
Use polymeric sand ONLY when joints are extremely empty or you have blasted all the sand out. Polymeric sand hardens when exposed to water but requires a minimum depth of sand to stick or bind to itself locking pavers in place. Regular sand washes away quickly and requires constant replacement.
How to Prevent Weeds Between Pavers
Weeds grow wherever there’s soil, moisture, and sunlight. The joints between pavers provide all three. Prevention is far easier than removal.
Free consultation & estimate →
Prevent weeds by:
- Using polymeric sand instead of regular sand (it hardens and blocks weed seeds) if it is a right fit.
- Keeping debris out of joints (leaves and dirt create a growing medium)
- Sweeping regularly, especially in spring and summer
Remove existing weeds by:
- Hand-pulling small weeds (get the roots out)
- Using a narrow tool to dig out deeper roots
- Spot-treating with a natural herbicide if hand-pulling fails
- Never using broad-spectrum herbicides near plants you want to keep
The best prevention is maintenance. A clean, well-drained paver surface discourages weeds. A neglected surface with debris and standing water becomes a weed garden.
Moss, Algae, and Biological Growth
Shaded, damp areas develop moss and algae. This is common in humid climates or under tree cover. It’s not a structural problem, but it looks bad and creates a slipping hazard.
Remove moss and algae:
- Scrub with a stiff brush and water
- Use a mild bleach solution (1:10 ratio) if brushing alone doesn’t work
- Rinse thoroughly and allow to dry
- Repeat treatment if growth returns
Prevent regrowth:
- Improve air circulation (trim overhanging branches if possible)
- Keep the surface dry by ensuring good drainage
- Remove leaves and debris that trap moisture
- Reapply treatment annually in problem areas
Biological growth is purely cosmetic unless it creates a safety hazard. Some homeowners accept it as part of outdoor living in humid climates. Others treat it seasonally.
How to Repair Sinking Pavers and Address Uneven Surfaces
Uneven pavers are both a safety hazard and a sign of base problems. A single sinking paver might be fixable. Multiple sunken pavers suggest deeper issues.
Single sunken paver repair:
- Remove the paver and any sand beneath it
- Add base material (compacted stone) to raise the height
- Reset the paver level with its neighbors
- Refill joints with polymeric sand
Multiple sunken pavers or widespread sinking:
- This indicates base failure, not a maintenance issue
- Professional repair requires removing pavers, rebuilding the base, and reinstalling
- This is beyond DIY territory and requires heavy equipment
At Venice Pavers, we’ve repaired countless installations where the original base prep was inadequate. The good news: proper base work from the start prevents this. The bad news: fixing it later is expensive. That’s why meticulous base preparation matters so much.
Sealing Pavers and Resealing Intervals
Paver sealing protects the paver surface from stains and weathering. It’s optional, but recommended for driveways and high-traffic areas.
Benefits of sealing:
- Reduces stain penetration (oil, rust, organic matter)
- Enhances color and appearance
- Provides some UV protection
- Makes cleaning easier
Sealing schedule:
- Seal new pavers after an appropriate settling period
- Reapply periodically for driveways
- Reapply periodically for patios and walkways
- High-traffic areas need more frequent resealing
How to seal pavers:
- Clean the surface thoroughly and remove all organic debris – let it dry completely
- Apply sealer with a roller or sprayer, following product instructions
- Allow proper drying time before foot traffic
- Avoid walking or driving on sealed pavers until fully cured
Not all sealers are equal. Penetrating sealers soak into the paver and protect from within. Film-forming sealers create a surface coating. Both work, but they behave differently when it comes to reapplication and appearance.
PLEASE NOTE: We only recommend water based paver sealing products for Venice, Sarasota, North Port, Englewood, Nokomis, Osprey and our service areas.
DIY Maintenance vs. Professional Help: What You Should Know
Here’s where to draw the line between DIY and calling a professional.
DIY tasks (straightforward, low risk):
- Sweeping and debris removal
- Light cleaning with garden hose and brush
- Weed removal by hand
- Applying moss treatment
Professional tasks (require equipment or expertise):
- Pressure washing (if you’re unsure about pressure settings)
- Major stain removal (rust, oil that won’t respond to standard cleaners)
- Repairing sinking or shifting pavers
- Addressing drainage problems
|
Task |
Difficulty |
Time |
Cost |
|---|---|---|---|
|
Sweeping and debris removal |
Easy |
30 minutes |
Free |
|
Hand weeding |
Easy |
1-2 hours |
Free |
|
Joint sand replenishment |
Moderate |
2-3 hours |
$50-150 |
|
Pressure washing |
Moderate |
2-4 hours |
Equipment rental or hire |
|
Sealing |
Moderate |
4-6 hours |
$200-500 for materials |
|
Sinking paver repair |
Hard |
4-8 hours |
$500+ (professional) |
|
Base repair |
Very hard |
Multiple days |
$2,000+ (professional) |
The honest truth: most interlocking paver maintenance is simple enough for homeowners. What requires professional help is anything involving the base, large-scale repairs, or problems you can’t diagnose yourself.
When in doubt, get a professional inspection. Venice Pavers offers free consultations to assess your pavers and recommend the right maintenance approach.
Frequently Asked Questions
How often should interlocking pavers be cleaned?
The Concrete Masonry & Hardscapes Association recommends routine preventive maintenance in spring and fall. Between seasonal cleanings, sweep surface debris regularly and address spills promptly—stains become harder to remove if left to set. In high-traffic areas or climates with heavy pollen or dust, you may need monthly sweeping. The frequency depends on your local weather, tree coverage, and how much foot traffic your pavers receive.
Do interlocking pavers need to be sealed?
Sealing is not mandatory but offers real benefits. A quality sealer protects against stains, reduces moss and algae growth, and makes cleaning easier. Most sealers last 2-3 years before resealing is needed. If you choose to seal, apply it after installation and again at regular intervals. If you skip sealing, expect more frequent stain removal and biological growth management, especially in humid climates.
How do you keep weeds from growing between pavers?
Weeds grow in the joint sand where moisture and seeds collect. Keep joints full with quality sand and compact them properly during installation. Sweep debris out of joints regularly to prevent seed germination. For existing weeds, remove them by hand or use a targeted herbicide on joints only. Polymeric sand, which hardens when moistened, reduces weed growth compared to standard sand. Proper base preparation and drainage also help by preventing standing water that encourages growth.
What’s involved in repairing sinking pavers?
Sinking pavers signal a base preparation or drainage issue. Minor settling (less than half an inch) may only need sand replenishment under affected pavers. Significant sinking requires lifting pavers, inspecting the base, adding or compacting base material, and resetting pavers level. This is where proper initial installation matters—quality base preparation and compaction prevent most sinking. If sinking recurs or affects large areas, have a professional assess drainage and grading to prevent ongoing problems.
Is interlocking paver maintenance difficult?
Routine maintenance is straightforward but requires consistency. Sweeping, occasional pressure washing, stain removal, and weed control are all manageable for homeowners. The challenge comes when base issues emerge—shifting pavers, poor drainage, or settling—which signal installation problems rather than maintenance failure. Most maintenance tasks take a few hours per season. Difficulty depends on your property size, climate, and whether the initial installation included proper base preparation and drainage planning.
Most homeowners worry that paver maintenance will become a constant headache. The reality is different. Regular upkeep takes a few hours twice a year. Venice Pavers can handle the bigger tasks, sealing, repairs, and drainage solutions, so you keep your pavers looking great without the stress. Get a free consultation and let our team assess your installation and create a maintenance plan that fits your property.