Last Updated: November 2, 2026
Quick Summary
Preventing water damage under paver patios starts with a real paver patio drainage plan made before installation: where water enters, where it exits, and what happens in a heavy storm. Build the slope into the compacted base at roughly 1/8 to 1/4 inch per foot away from the house, and keep drains and joint sand maintained.
- A patio that is perfectly flat will pool, and one sloping toward the house sends water at your foundation.
- The first 4 to 6 feet out from the foundation should always fall away from the wall.
- Verify grade on the compacted base, not the bedding sand, and re-check it after final compaction.
- Pavers installed over concrete do not drain unless the design includes a path out for water.
- Flush drains and re-sand joints before storm season to keep a patio draining.
Table of Contents
- Why Water Damage Under Paver Patios Gets Missed
- Mistake 1: Skipping a Proper Paver Patio Drainage Plan
- Mistake 2: Rushing Paver Patio Base Preparation
- Mistake 3: Grading the Patio Flat or Toward the House
- Mistake 4: Ignoring Water Pooling on the Paver Patio Surface
- Mistake 5: Forgetting Edge, Foundation, and Door Transitions
- Mistake 6: Assuming Pavers Installed Over Concrete Drainage Themselves
- Mistake 7: Never Maintaining the Drains or Joint Sand
- Frequently Asked Questions
Why Water Damage Under Paver Patios Gets Missed
Water damage under a paver patio rarely announces itself. It builds quietly, season after season, while the surface still looks fine from the kitchen window.
That is the core problem with preventing water damage under paver patios: the failure happens below the surface, and the evidence shows up late. At Venice Pavers, we have spent more than 30 years building and repairing hardscape, and the same story repeats.
Most guides focus on the visible symptom. The real work is underneath.
Surface Puddling vs. Water Trapped Beneath the Pavers
Surface puddling is easy to spot. Water sits on top of the pavers in a low spot and drains slowly, or not at all.
Water trapped beneath the pavers is the quiet version. The surface may look flat, but moisture is sitting in the base layer because the subgrade holds it or the slope sends it the wrong way. Signs include:
- Joint sand that keeps washing out after every storm
- Pavers that rock or sink in one small area
- A musty smell or dampness near the patio edge
- Efflorescence, a white powdery stain on the paver face
- Soft, spongy ground where the patio meets the lawn
If you see these, the problem is not cosmetic. The base is holding water, and that water has nowhere to go.
Mistake 1: Skipping a Proper Paver Patio Drainage Plan
The most expensive mistake happens before the first paver is laid: no drainage plan at all.
A paver patio drainage plan answers three questions before installation. Where does water enter? Where does it leave? And what happens when it rains harder than expected? Skipping that step means the patio is designed for looks, not for water. Readers who want to see the drainage solutions the company offers for paver patios can review paver patio drainage solutions.
Here is what a real plan covers:
- Site slope: How the finished grade sheds water away from the house.
- Soil behavior: Whether the subgrade drains or holds water like a bowl.
- Runoff volume: Where roof downspouts and uphill water will end up.
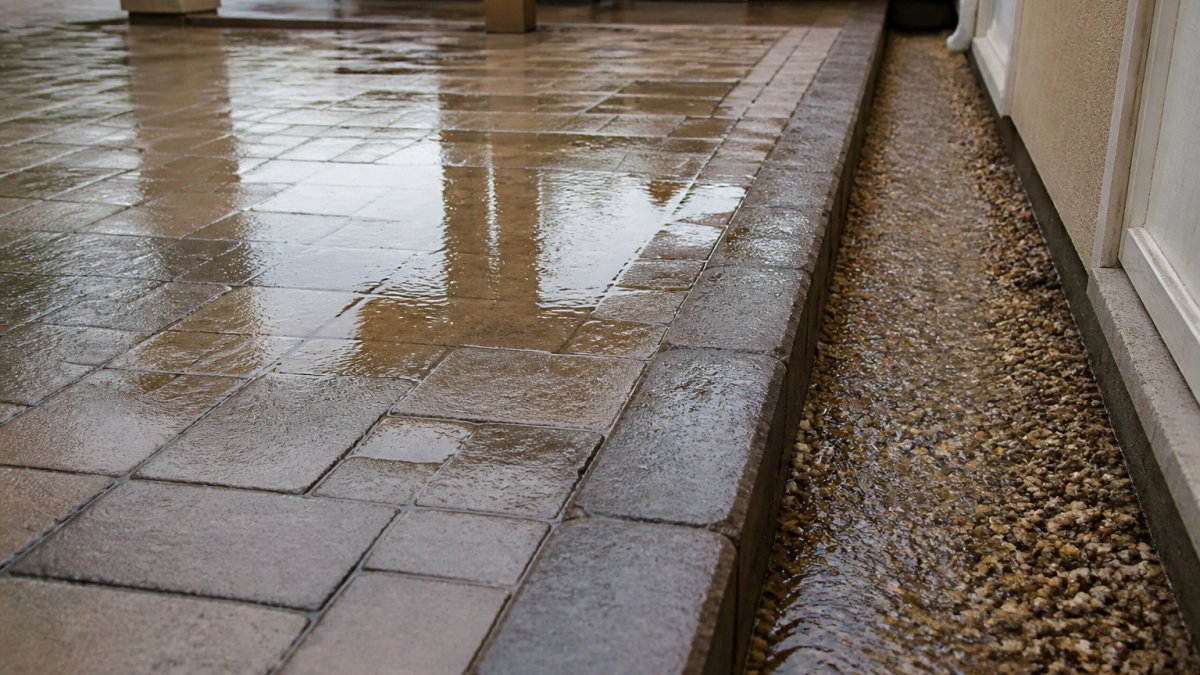
- Exit points: French drains, channel drains, or daylighted outlets.
- Overflow: What happens when the system hits capacity.
Mistake 2: Rushing Paver Patio Base Preparation
Base preparation is where shortcuts hide, and it is the number one reason patios fail.
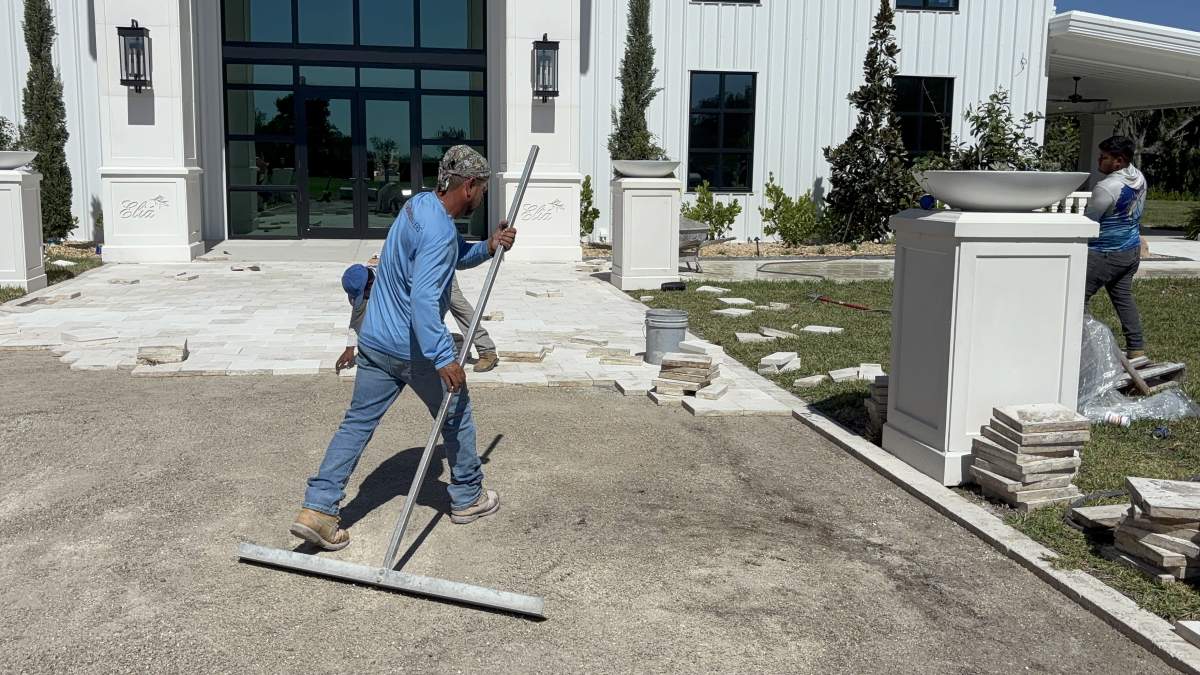
A proper base is excavated to depth, filled with crushed stone, watered, and compacted in lifts, not all at once. Rushing this step leaves voids that trap moisture and allow pavers to settle unevenly.
Crew member using a plate compactor on a crushed stone base to ensure proper paver patio drainage and stability.
Neglecting the structural integrity of your sub-base creates a domino effect of instability that mirrors the underlying causes of concrete coating failures in other outdoor masonry projects.
Compaction is a process, not a single pass. A plate compactor should work the base in layers, with moisture added to help the aggregate lock together.
Compaction, Crushed Stone, and the Base That Actually Drains
Not all crushed stone drains the same. A clean, angular aggregate with fewer fines lets water move through the base. For a deeper look, see whether you can use crushed stone for paver base.
The base also needs the right thickness and a fully compacted surface before bedding sand goes down.
A common mistake is skipping compaction near edges and corners. Those are exactly where water enters first.
Mistake 3: Grading the Patio Flat or Toward the House
A patio that is perfectly flat is a patio that will pool. A patio that slopes toward the house is worse: it sends water straight at your foundation.
The finished grade should shed water away from the structure, with a consistent slope that carries surface runoff to a safe exit. If water is already pooling at the wall, this guide on how to stop water from pooling near house walks through the practical steps.
Free consultation & estimate →
Slope Targets You Can Actually Measure
Most hardscape guidance stops at “slope away from the house.” That is not a spec, it is a direction. A workable target for a paver patio is a fall of roughly 1/8 inch to 1/4 inch per foot (about 1 to 2 percent) moving away from the building. Less than that and surface tension and joint friction hold water in place; much more and the patio feels tilted underfoot and the paver edges start to show lippage.
Two rules of thumb that keep the grade honest:
- Minimum fall: about 1/8 inch per foot on the patio surface, never dead level, even on a covered patio.
- Maximum fall: about 1/4 inch per foot for walkable areas; steeper grades belong on ramps and swales, not patios.
- Positive fall at the wall line: the first 4 to 6 feet out from the foundation should always fall away from the wall, never toward it, regardless of what the rest of the patio does.
How to Verify the Finished Grade Before the Pavers Go Down
Grade errors are cheaper to fix on the base than on the pavers. Verify the grade in this order:
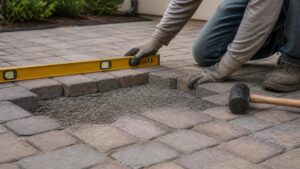
- Set a string line or laser level from the house wall to the intended low point and check the fall with a 4-foot level and a tape. A 4-foot level with a 1/2-inch shim under one end reads about 1 percent, a quick field check.
- Check the base, not just the bedding sand. The slope should live in the compacted aggregate. Bedding sand is for leveling pavers, not for creating fall.
- Do a water test. Before final compaction, hose the base and watch where the water travels. If it stalls, the grade is wrong or the base has a low spot.
- Re-check after compaction. Plate compaction can move the surface by a fraction of an inch; re-shoot the grade after the final pass.
- Confirm the exit. The low point of the patio must connect to a drain, a swale, or daylight, a slope that ends in a wall or a planting bed just relocates the puddle.
Mistake 4: Ignoring Water Pooling on the Paver Patio Surface
Water pooling on a paver patio is a signal, not a cosmetic flaw.
When water sits on the surface after a storm, one of three things is happening:
- A low spot: The base settled or was never level.
- A slope problem: The grade sends water to the wrong place.
- A clogged exit: The drain or joint path is blocked.
Each cause has a different fix. Regrading or rebuilding the low area solves the first. Re-sloping solves the second. Clearing and maintaining the drainage path solves the third.
Ignoring surface puddling long enough lets water work into the joints and base. That is when surface problems become structural ones.
Mistake 5: Forgetting Edge, Foundation, and Door Transitions
Edges, foundations, and doorways are where water finds its way in.
A patio edge without proper restraint lets the paver field spread and the base wash out. A patio that meets the foundation without a gap or drainage detail can trap water against the wall.
These are the details that separate a patio that lasts from one that needs repair in a few years. Water damage at transitions does not stay at the transition. To understand the stakes, read how poor drainage damages foundations.
Mistake 6: Assuming Pavers Installed Over Concrete Drainage Themselves
Pavers installed over concrete do not drain. Concrete is not permeable, so water that gets under the pavers has nowhere to go unless the design includes a path out.
This setup can work, but only when the installer plans for water. That means:
- Sloping the concrete itself toward an exit
- Using a drainage layer or weep points at the edges
- Sealing or leaving joints open based on the design intent
- Keeping downspouts and surface runoff away from the slab
Assuming the concrete handles drainage is how trapped moisture and efflorescence start.
Mistake 7: Never Maintaining the Drains or Joint Sand
Even a well-built system needs upkeep. For details on the drainage system for paver patio installations, see the full page. Drains clog, joint sand washes out, and small problems grow into big ones.
A simple seasonal routine keeps a patio draining:
- Flush drains and channel outlets before storm season
- Re-sand joints where sand has washed out
- Check for new low spots after heavy rain
- Clear debris from grates and outlets
- Inspect edges and transitions for gaps
|
Mistake |
Warning Sign |
Fix |
|---|---|---|
|
No drainage plan |
Puddling after storms |
Add drains and exit points |
|
Rushed base prep |
Sinking, rocking pavers |
Rebuild base in lifts |
|
Flat or wrong-way grade |
Water at the house |
Regrade away from walls |
|
Ignored surface pooling |
Standing water |
Find and fix the low spot |
|
Bad transitions |
Damp foundation, sill rot |
Add edge and gap details |
|
Pavers over concrete |
Trapped moisture |
Add drainage path |
|
No maintenance |
Clogged drains, lost sand |
Seasonal upkeep |
Frequently Asked Questions
How do you prevent water from pooling under a paver patio?
Start with a properly compacted crushed stone base and a surface slope that moves water away from the house. Install perforated drain pipe or a French drain where the yard grades toward the patio, and keep joint sand topped off so surface water sheds instead of soaking in. During heavy rainfall, check that downspouts discharge well past the patio edge. If you see water pooling on a paver patio after every storm, the base or grade likely needs correction rather than a surface patch.
What causes water to collect beneath patio pavers?
Water collects beneath pavers when the base is under-compacted, the soil beneath it does not drain, or the surface slope is too flat to shed rainfall. Clogged joints and missing joint sand let surface runoff soak straight down. Sinking pavers and uneven pavers are the visible signs: once the base stays wet, it loses compaction and the pavers settle into the soft spots. Fixing the grade and drainage matters more than replacing individual pavers.
Can water damage pavers laid over concrete?
Yes. Pavers installed over concrete drainage rely on that slab shedding water to the edges, so if the slab holds water or has no outlet, moisture sits under the pavers and loosens the bedding layer. Freeze-thaw cycles are less of a concern in Southwest Florida, but constant dampness still causes efflorescence, shifting, and joint sand loss. Confirm the concrete has a working slope and drainage path before setting pavers on top.
How can you tell if poor drainage is causing pavers to sink?
Look for low spots that hold water after rain, pavers that rock underfoot, and joint sand that keeps washing out. These point to a saturated base rather than a paver problem. Press on suspect pavers: if they move, the bedding layer has lost support. A professional can probe the base and check the finished grade to confirm whether the fix is re-sanding and re-leveling or a full rebuild of the base and drainage system.
Water under a paver patio is a design and build problem, not bad luck. Venice Pavers has spent over 30 years installing patios with drainage planning and base preparation built in from day one, backed by a lifetime workmanship guarantee and Tremron certification. Get started with Venice Pavers and a free consultation and estimate for a patio that sheds water the way it should.